When working with images, you often need to overlay text or icons on them. Perhaps to show the name of the image, or an icon to favourite it. In Android, the trusted android:background xml attribute does the trick. In iOS, you can add an UIImageView to the bottom of your view hierarchy. But, how can you do that in Flutter?
One of Flutter’s cornerstone widgets is Container. You often use it for positioning and size. And, it provides a decoration property, which is a decoration painted behind the child.
For this code tutorial, we will set up an app with 2 screens. The first screen will display an image, with a title at the bottom, aligned left. The second will display the same, with an additional icon in the bottom right of the image.
Setting up the app
To follow the code tutorial, create a new app as follows.
|
1 |
flutter create stackboxdecorationexample |
If you’re unsure how to set up a Flutter app, check out Getting started with Flutter official tutorial.
Firstly, we create a Material app in main.dart, which will launch the HomePage widget.
|
1 2 3 4 5 6 7 8 9 10 11 12 13 14 15 16 17 18 19 20 21 22 |
import 'package:flutter/material.dart'; import 'home_page.dart'; void main() { runApp(new MyApp()); } class MyApp extends StatelessWidget { // This widget is the root of your application. @override Widget build(BuildContext context) { return new MaterialApp( title: 'Stack Box Decoration Example', theme: new ThemeData( primaryColor: const Color(0xFF43a047), accentColor: const Color(0xFFffcc00), primaryColorBrightness: Brightness.dark, ), home: new HomePage(), ); } } |
Secondly, we create home_page.dart. This will eventually display an image with a title in bottom left. But for now, it just displays a message. It also shows a menu with an image icon, to access SecondPage.
|
1 2 3 4 5 6 7 8 9 10 11 12 13 14 15 16 17 18 19 20 21 22 23 24 25 26 27 28 29 30 31 32 33 34 35 36 37 38 39 40 41 42 43 44 45 |
import 'package:flutter/material.dart'; import 'second_page.dart'; import 'dart:async'; class HomePage extends StatefulWidget { HomePage({Key key}) : super(key: key); @override _HomePageState createState() => new _HomePageState(); } class _HomePageState extends State<HomePage> { @override Widget build(BuildContext context) { List<Widget> menu = <Widget>[new IconButton( icon: new Icon(Icons.image), tooltip: 'Second screen', onPressed: _toSecondPage, ), ]; return new Scaffold( appBar: new AppBar( title: new Text("Box Decoration example"), actions: menu, ), body: _buildBody(), ); } Widget _buildBody() { return new Text('Tutorial in progress'); } Future _toSecondPage() async { Navigator.of(context).push(new MaterialPageRoute<dynamic>( builder: (BuildContext context) { return new SecondPage(); }, )); } } |
Thirdly, we create example2_page.dart. This will eventually display an image with a title in bottom left and an icon in bottom right. But for now, it just displays a message.
|
1 2 3 4 5 6 7 8 9 10 11 12 13 14 15 16 17 18 19 20 21 22 23 24 25 26 |
import 'package:flutter/material.dart'; class SecondPage extends StatefulWidget { SecondPage({Key key}) : super(key: key); @override _SecondPageState createState() => new _SecondPageState(); } class _SecondPageState extends State<SecondPage> { @override Widget build(BuildContext context) { return new Scaffold( appBar: new AppBar( title: new Text("Box Decoration and Stack example"), ), body: _buildBody(), ); } Widget _buildBody() { return new Text('Tutorial in progress'); } } |
Example 1: Showing an image and a title using BoxDecoration
Before we dive deeper into the code, we need to have an image to show. There are different ways to load images in Flutter; for this code tutorial, we will load it from assets. So grab your phone, take a picture, download it to your laptop/desktop, create an assets folder (same level as lib folder) and save the image as image.jpg.
Then, amend your pubspec.yaml file.
|
1 2 3 4 5 6 7 8 9 10 |
[...] flutter: # The following line ensures that the Material Icons font is # included with your application, so that you can use the icons in # the material Icons class. uses-material-design: true assets: - assets/image.jpg |
Now, we can show the image, with a title showing in the bottom left. The image is at the top of the screen, with a height of 200.0, and fills the width. We will use a Container: specifically, its decoration property for the image and its constraint property for the size. The title is a child of the container. To position it, we use the Container’s alignment and padding properties. Let’s amend home_page.dart as follows.
|
1 2 3 4 5 6 7 8 9 10 11 12 13 14 15 16 17 18 19 20 21 22 23 24 25 26 27 28 29 30 31 |
[...] class _HomePageState extends State<HomePage> { [...] Widget _buildBody() { return new Container( constraints: new BoxConstraints.expand( height: 200.0, ), alignment: Alignment.bottomLeft, padding: new EdgeInsets.only(left: 16.0, bottom: 8.0), decoration: new BoxDecoration( image: new DecorationImage( image: new AssetImage('assets/image.jpg'), fit: BoxFit.cover, ), ), child: new Text('Title', style: new TextStyle( fontWeight: FontWeight.bold, fontSize: 20.0, ) ), ); } [...] } |
Voila!

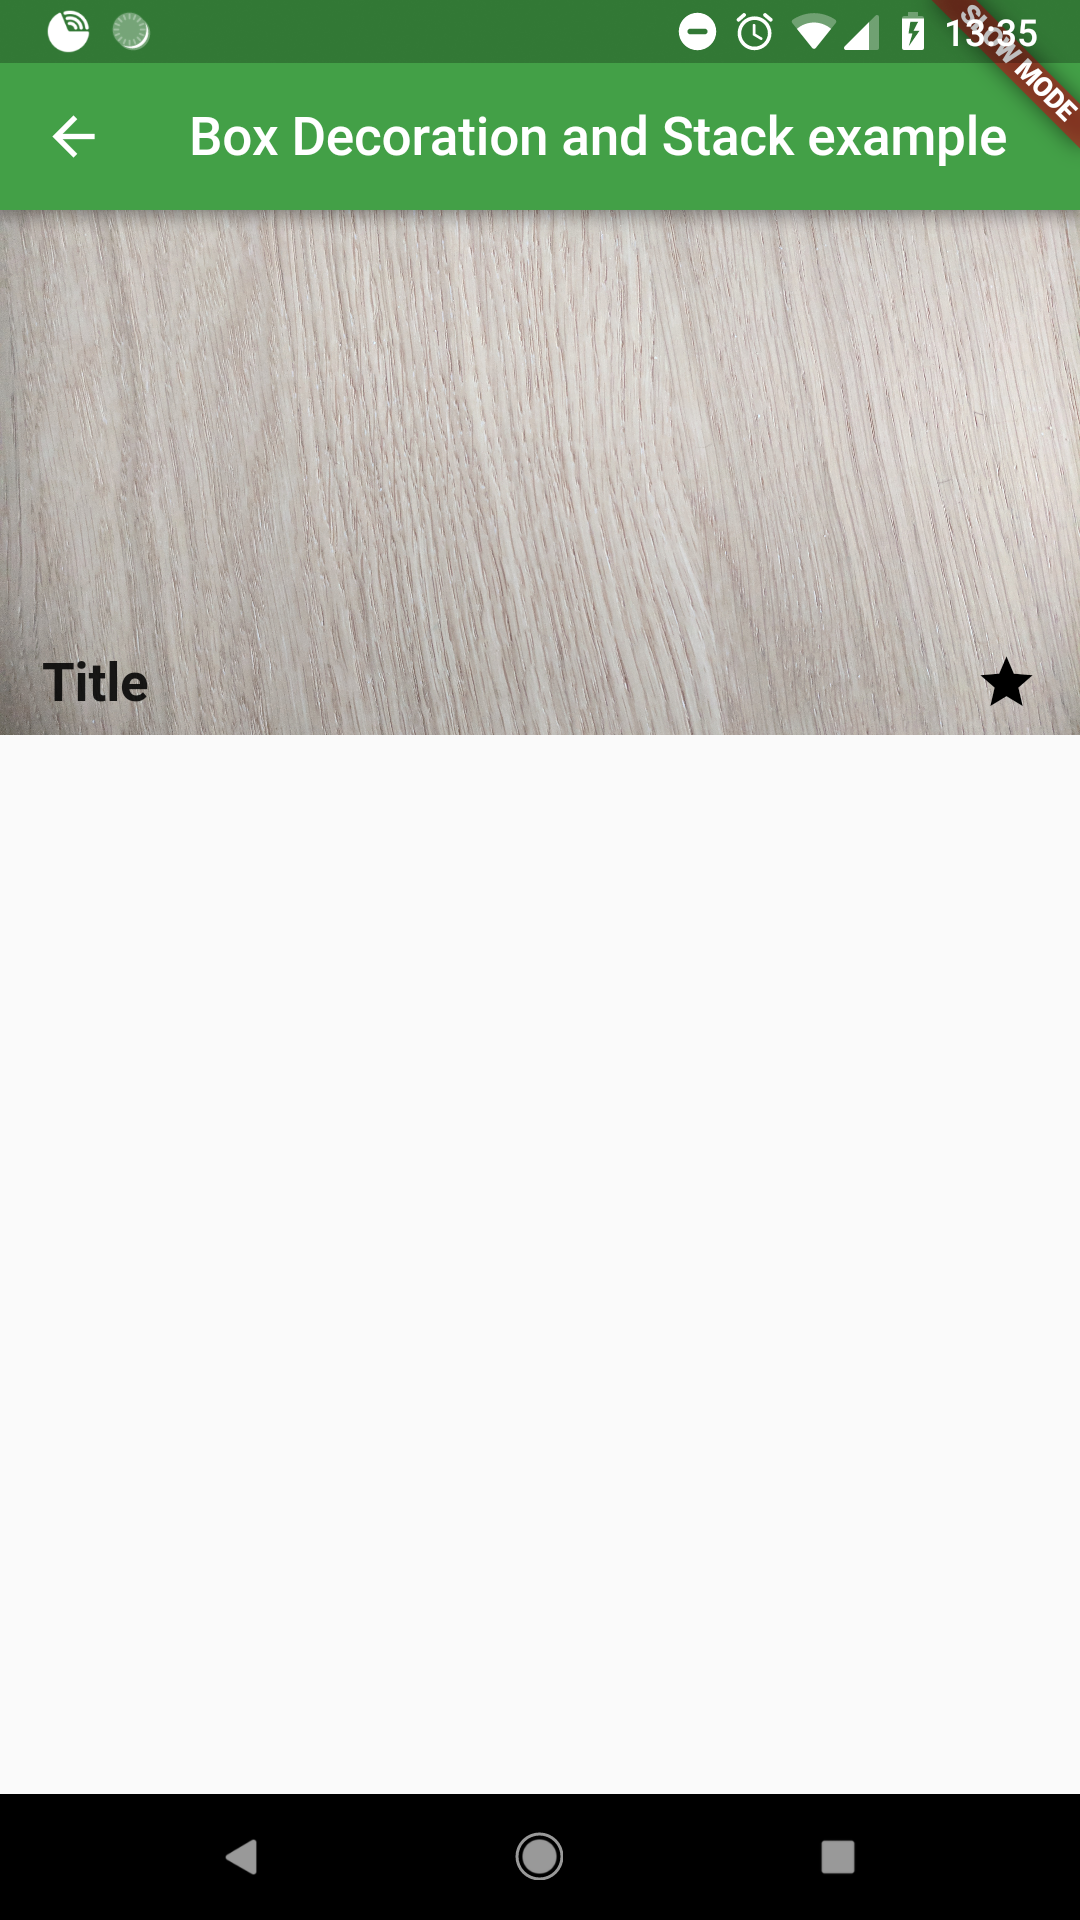
Example 2: Showing an image, a title and an icon using BoxDecoration and Stack
For this screen, we want to show 2 child elements on the image, ie the title and an icon. So, we need a layout widget that can place children in specific positions, namely a Stack. So let’s amend second_page.dart as below.
|
1 2 3 4 5 6 7 8 9 10 11 12 13 14 15 16 17 18 19 20 21 22 23 24 25 26 27 28 29 30 31 32 33 34 35 36 37 38 39 40 |
[...] class _SecondPageState extends State<SecondPage> { [...] Widget _buildBody() { return new Container( constraints: new BoxConstraints.expand( height: 200.0, ), padding: new EdgeInsets.only(left: 16.0, bottom: 8.0, right: 16.0), decoration: new BoxDecoration( image: new DecorationImage( image: new AssetImage('assets/image.jpg'), fit: BoxFit.cover, ), ), child: new Stack( children: <Widget>[ new Positioned( left: 0.0, bottom: 0.0, child: new Text('Title', style: new TextStyle( fontWeight: FontWeight.bold, fontSize: 20.0, ) ), ), new Positioned( right: 0.0, bottom: 0.0, child: new Icon(Icons.star), ), ], ) ); } } |
Voila
What next?
In this code tutorial, we used the decoration property from Container. It is a complex widget, so I recommend reading the official doc (and running the sample code in there). When working with images, you will most likely need to load them from the network, so the Display images from the internet recipe may come in handy.

Mobile app developer with 14 years experience. Started with the Android SDK in 2010 and switched to Flutter in 2017. Past apps range from start ups to large tech (Google) and non tech (British Airways) companies, in various sectors (transport, commercial operations, e-commerce).
nice
Nice. But How to save that image with text? Could you please tell me how i can do it? Thanks!